概要
angularプロジェクトをazure devopsでビルドパイプラインした結果から、リリースパイプラインを動かして、App Serviceにデプロイします。
前提条件
- ビルドパイプラインでビルドしていること
- ランタイムがNode.jsで、Windows環境のApp Serviceが用意されていること
リリースパイプラインの作成
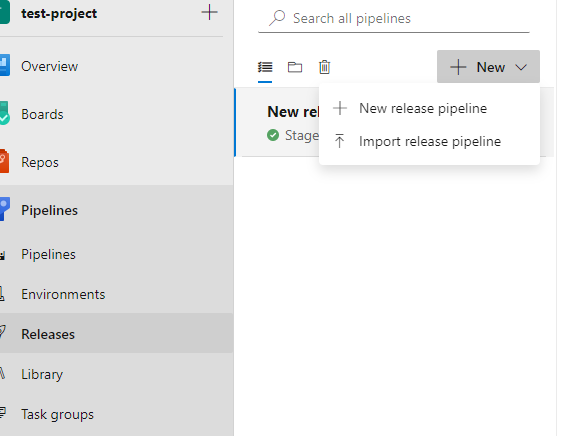
azure devopsのpipelinesのreleasesから、new release pipelineを選択します。
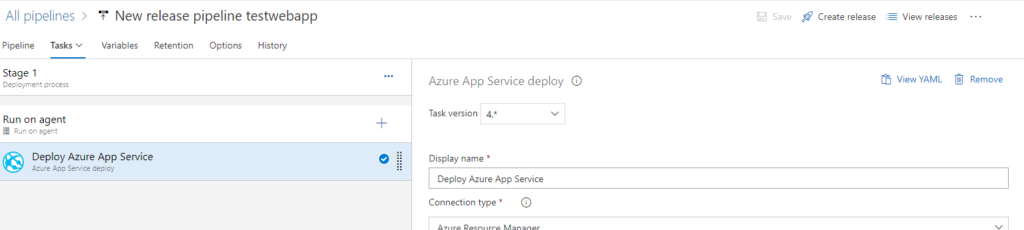
テンプレートは、Azure App Service deploymentを使います。

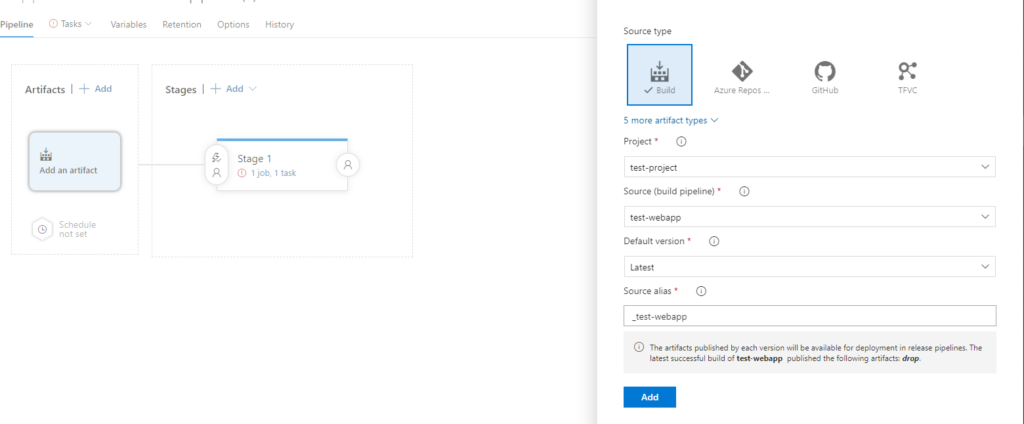
Add an artifactの図を選択して、ビルドパイプラインで作っているArtifactを設定します。
次はTaskタブを開いて、azureのsubscriptionとapp service nameを設定します。
リストのプルダウンを押すと自動で、自分のアカウントのサブスクリプションが出ます。
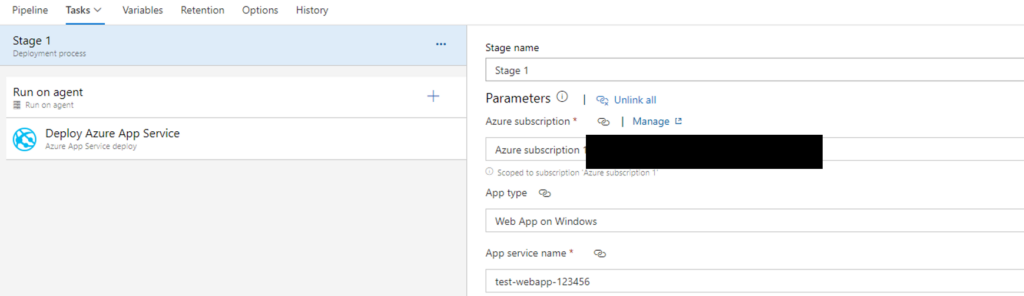
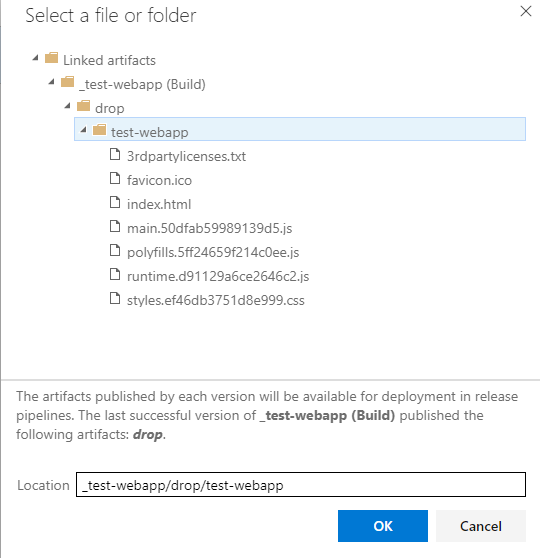
agentのdeploy azure app serviceを選択して、package or folderを変えます。
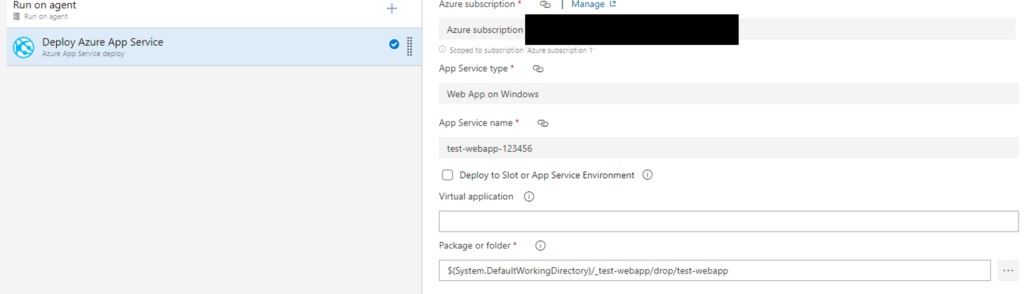
…のボタンから、ビルドパイプラインで作ったファイルがあるので、Angularプロジェクトのビルド結果であるルートフォルダを選択します。
以上でリリースパイプラインの設定は完了です。
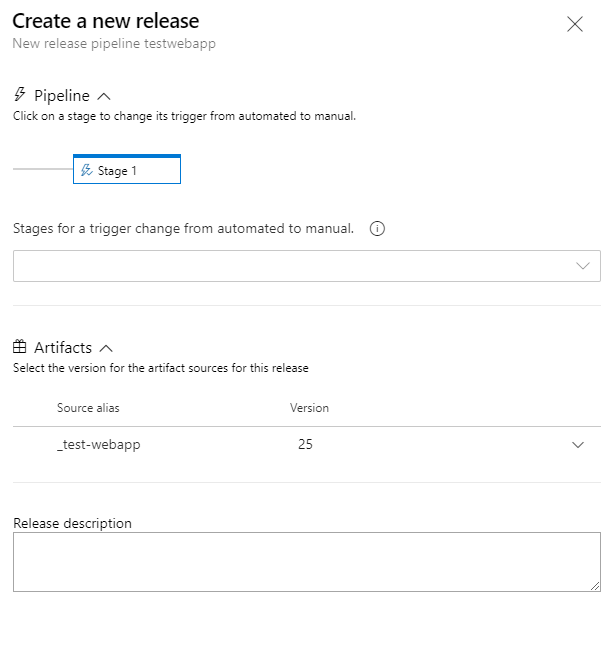
あとは、saveしてCreate releaseでリリースパイプラインを実行できます。
デプロイした結果の確認
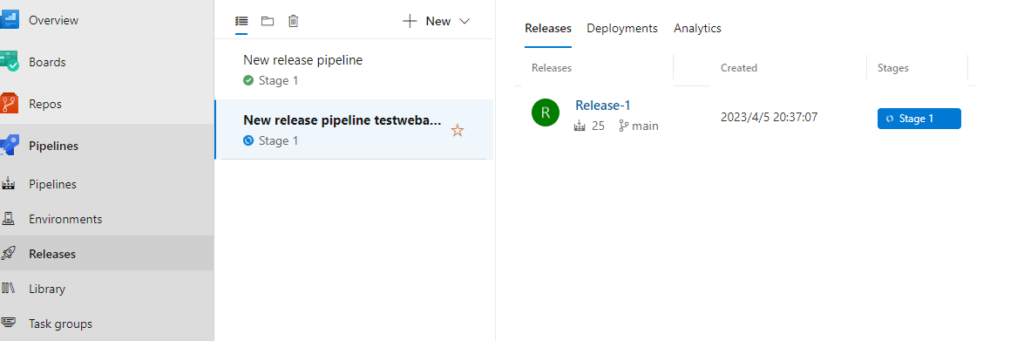
devopsのreleasesの画面から、リリースパイプラインの実行状況を確認できます。
Stagesが青の状態が実行中で、緑になったら完了です。
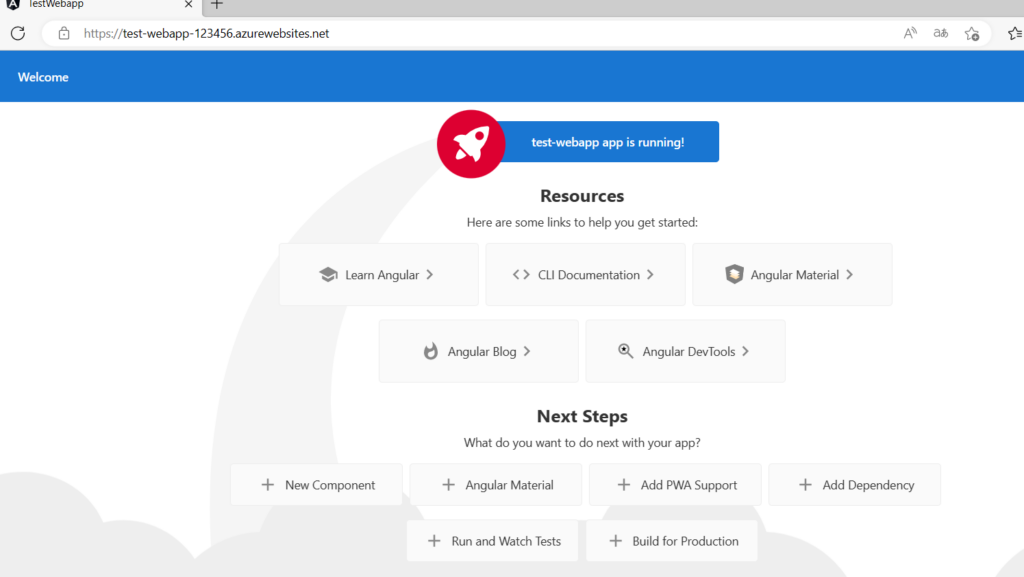
デプロイしたapp serviceのURLにアクセスすると、Angularのデフォルトプロジェクトが動いていることが確認できました。